

Account Setup
Account Setup - SES, Unsubscribe Page, User Management
This section covers:
- Amazon SES Account Setup (optional)
- Unsubscribe Page
- Account Settings and User Management
Once you Create a Brand in your account you will see additional navigation in the header for managing brand assets - Lists, Campaigns, and Templates. There are some additional options to manage setup in the menu you can access by clicking on your brand name in the header - fields, message types (aka email preferences), add-ons (adding email suppressions module to campaign UI), and Senders (only shown to customers on Pro plan).
Amazon SES Account Setup (Optional)
If you plan to use Amazon SES you need to connect your AWS account to BigMailer, then follow instructions in BigMailer UI. You may need to get your Amazon SES account out of sandbox mode and request a new daily send limit. Make sure you add and verify a sender identity (the email/domain you plan to send from) before you submit a request to Amazon to speed up approval. Typically, Amazon wants to see that you own a domain and don't plan to use a free email address like yahoo/gmail for sending emails in bulk.
Unsubscribe Page
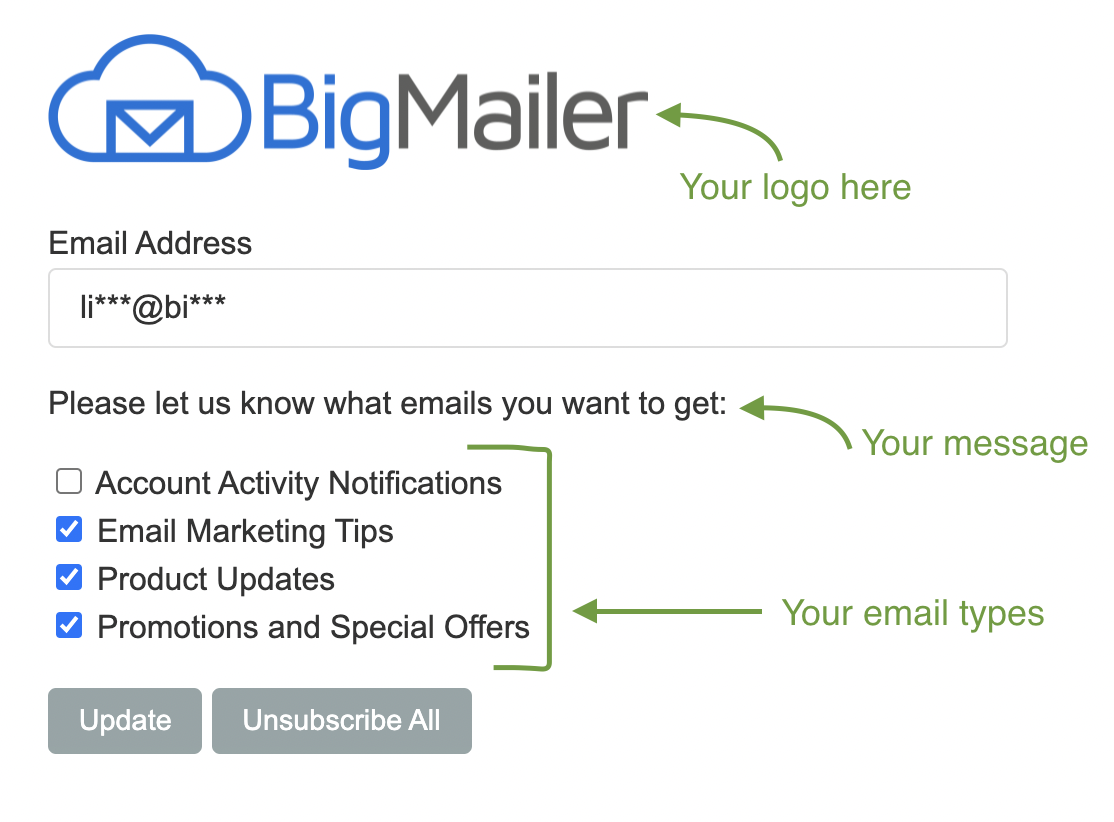
You can customize your unsubscribe page in several ways:
- Add your brand logo (under Brand Settings page), which will replace the text name of your brand.
- Add message types to allow subscribers select the emails they want to receive based on their preferences.
- Host the unsubscribe page on a custom domain that matches your sender email and tracking links in your emails.
- Customize the text that appears above the message types to match your unique communication style. You can set it on your brand settings page and use a preview button to review any customizations you made.
Have any questions or need assistance with setup? Reach out to us via chat (see bottom right of the screen). We offer support 7 days a week.
Account Settings
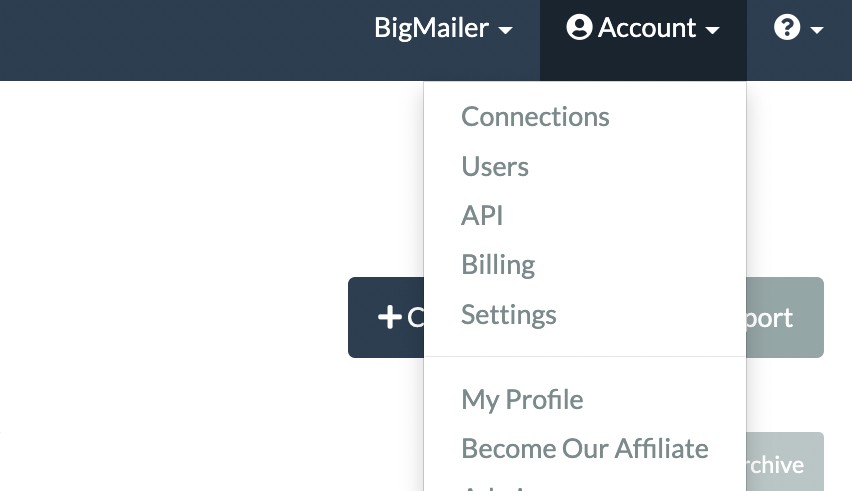
There are several things that can be controlled under Account settings that can be accessed by clicking on "Account" link in the header.
- Account Administrators can invite users under Users page.
- Account Administrators and Account Managers can access API page where they can get they API key and setup web hooks.
- Account Administrators can manage account Billing.
- Any user can enable 2-factor authentication (2FA) on their login by going to Profile page.
- Account Administrators can manage default time zone for the account under Settings page.
Managing Users
When either inviting or editing user permissions there are 4 user roles available:
- Account Administrators have access to everything including user management and billing page.
- Account Managers don't have access to billing page or user management, but can access SES page and manage SES connections and sender identities. Account managers have access to API page, brand settings and campaigns, but can't access Lists. This role is best for tech leads or anyone on-boarding new brands.
- Brand Managers have access to brand settings and all brand assets - campaigns, lists, and templates.
- Campaign Managers have access to Templates and Campaigns only, but can not manage or access Lists. This role is best for template designers or someone who manages campaigns.
Updated 3 months ago